I know there have been many who have done this but I intend to alter the CL/U Prowl into an almost perfect Jazz.
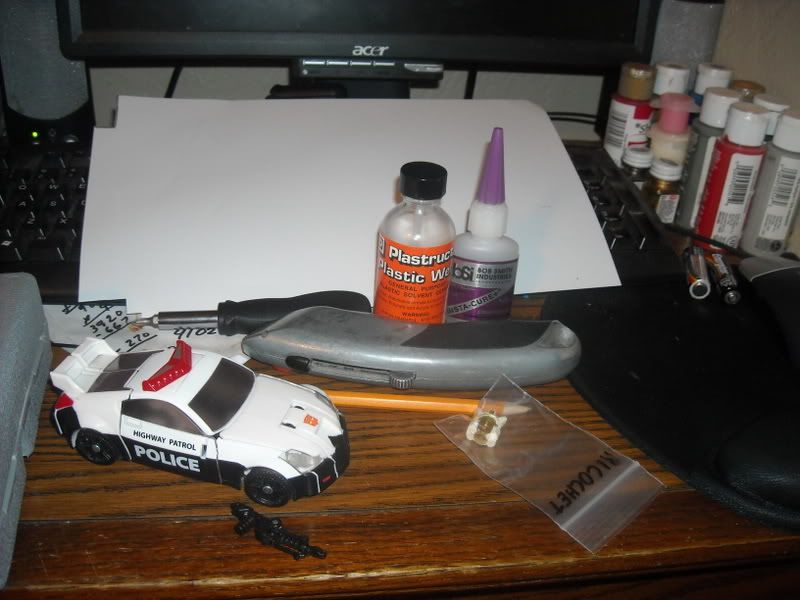
Here are most of the tools, and supplies you'll need:
A Jazz head
Prowl
Plastic Weld
Instacure super glue
A razorknife
a sheet of Styrene that is paper thin
a multitool (not pictured)
a small Phillips head screw driver

Prowl:Wait you want me to become who?

Step 1:
Send a PM to Wheeljack over on tformers.com and buy a Jazz head from him he sells them for $10 each. They come in 2 halves in skin tone plastic. Unfortunately I did the work to the 2 heads I got before deciding to do a step by step. However the post where a screw could go isn't drilled, and the place for a screw in the back of the head doesn't have a hole drilled either. So you can either glue it together or you can drill the holes and put a screw in. If you can't get ahold of him you can do like another guy did and use a Robot Heroes Jazz head it fit surprisingly well.
After doing all of this, and painting here is what you'll have:

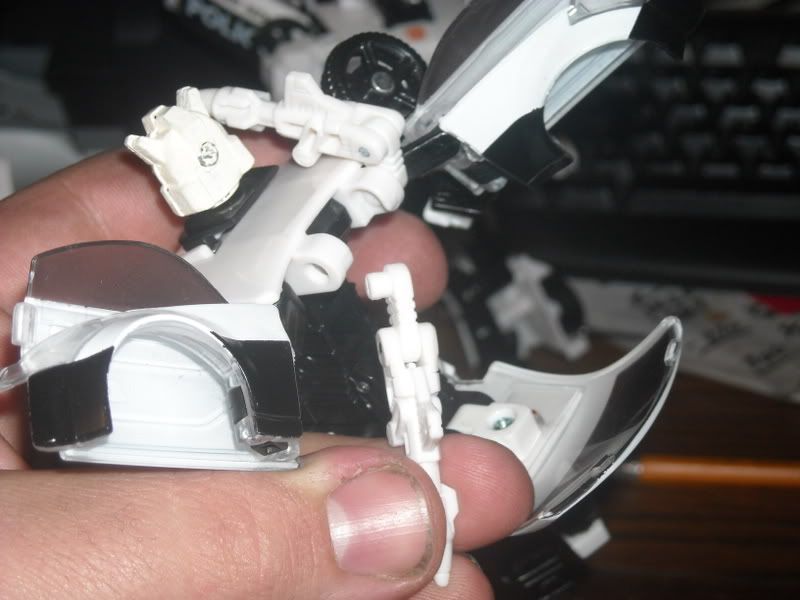
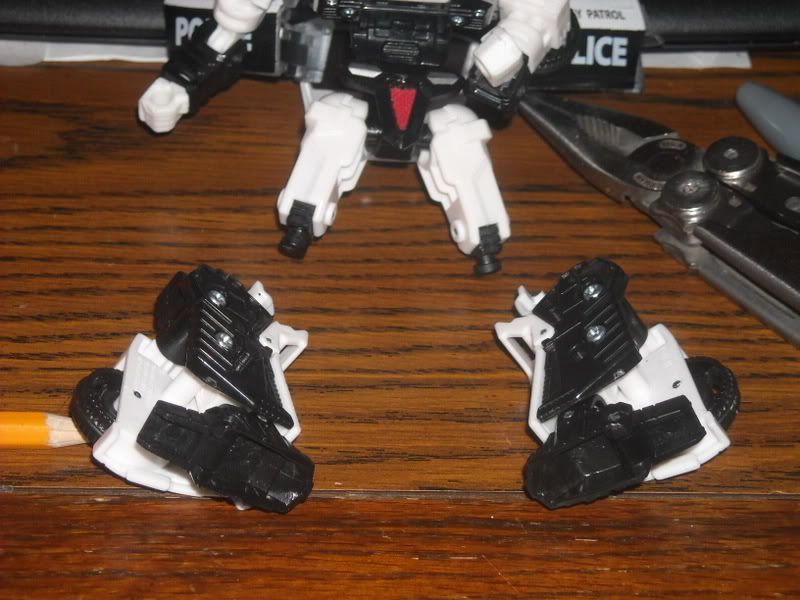
Now lets start on the body. Unscrew Prowl's head and save it in case you might need an extra head in the future. Ok next since Jazz only had one missile launcher on his right shoulder you can go ahead and take the one on his left shoulder. To do this take the missile launcher, and rotate it downwards then twist it sideways and it'll pop right out.


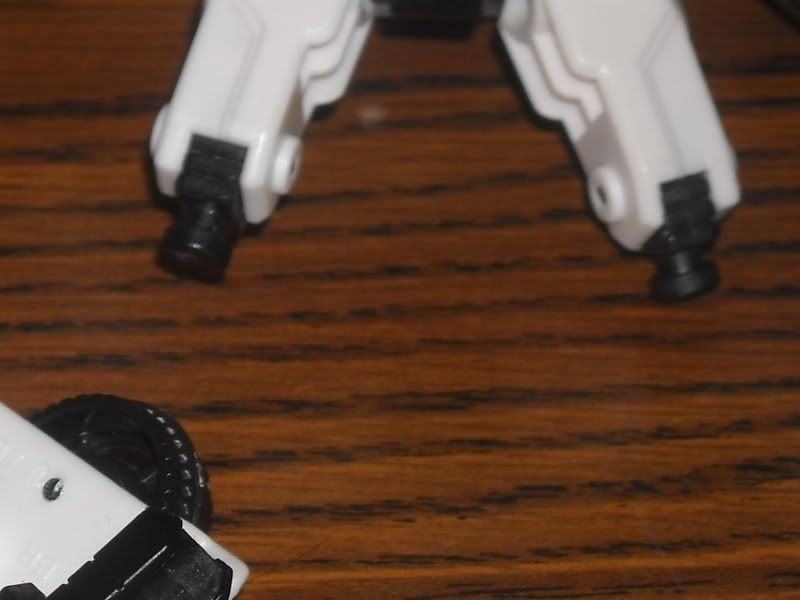
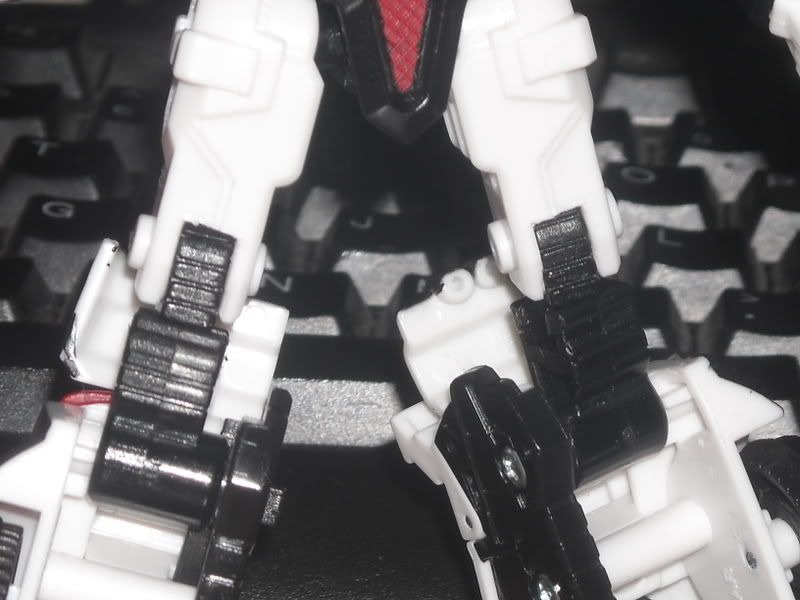
Ok now that you Jazz head is ready, and your Jazz shoulders look right lets move on to the legs. Now I actually cut squares from the front of Prowl's knees so that when I switched his legs they could still bend, and transform. (NOTE he will NOT be transformable if you don't cut out the square). Now take the left lower leg, and put it on the right upper leg, and viseversa.


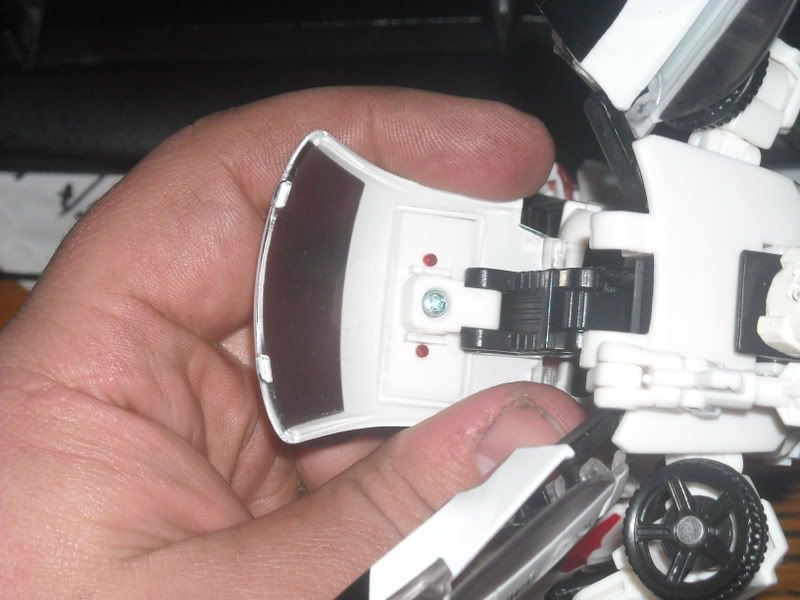
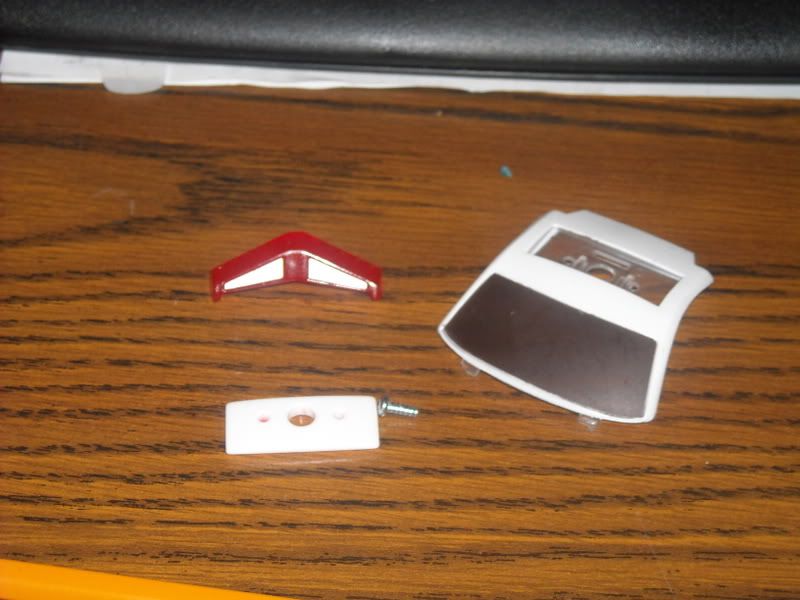
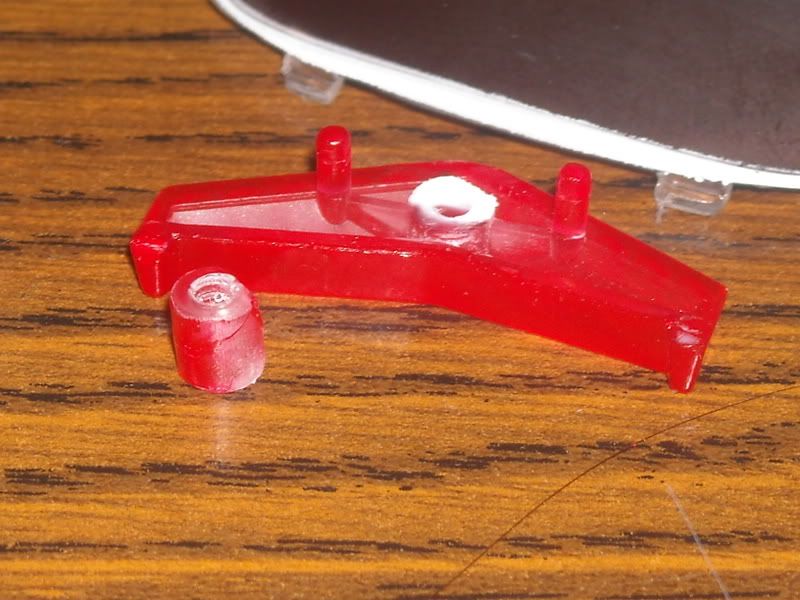
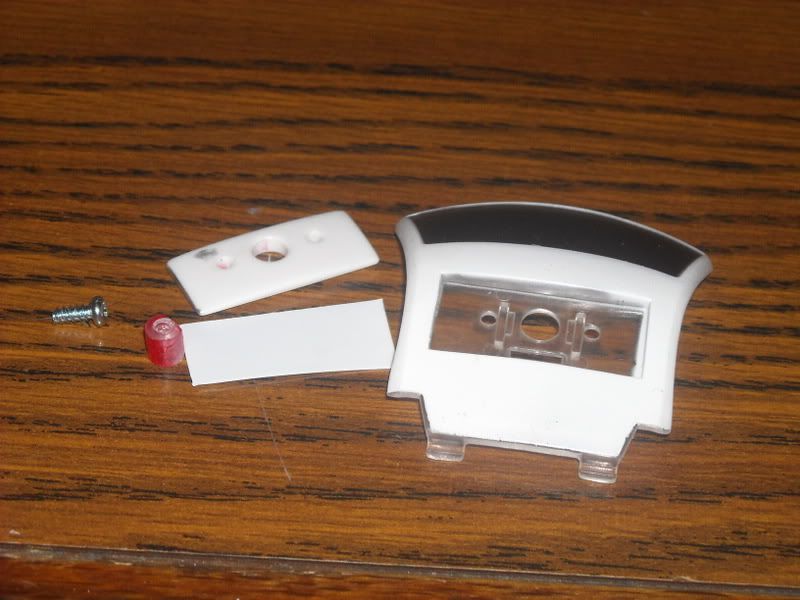
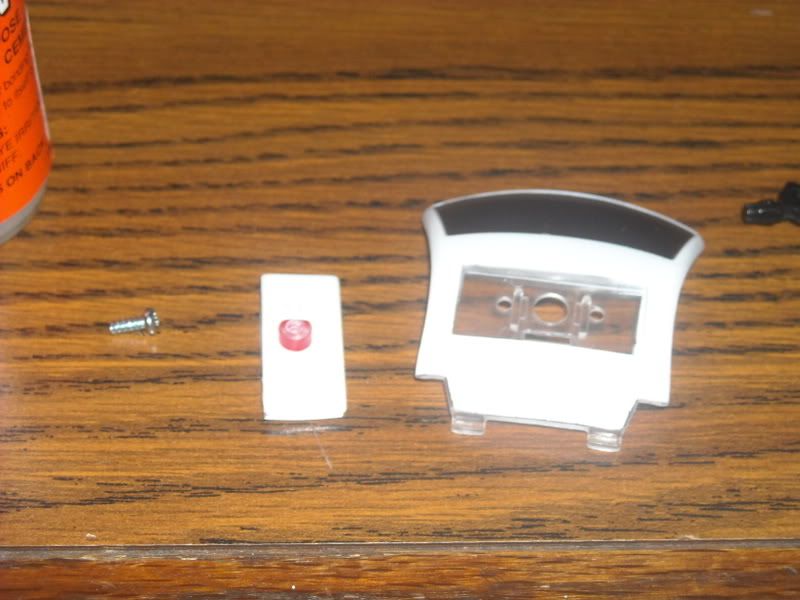
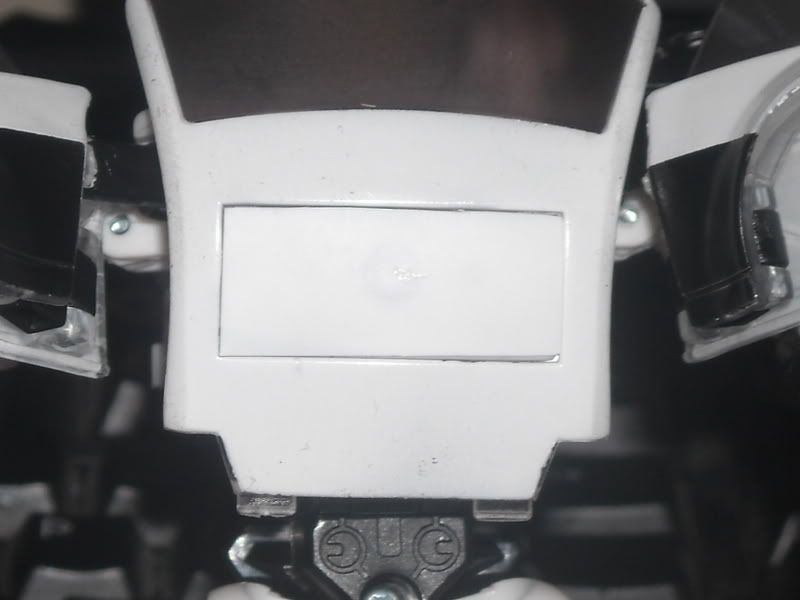
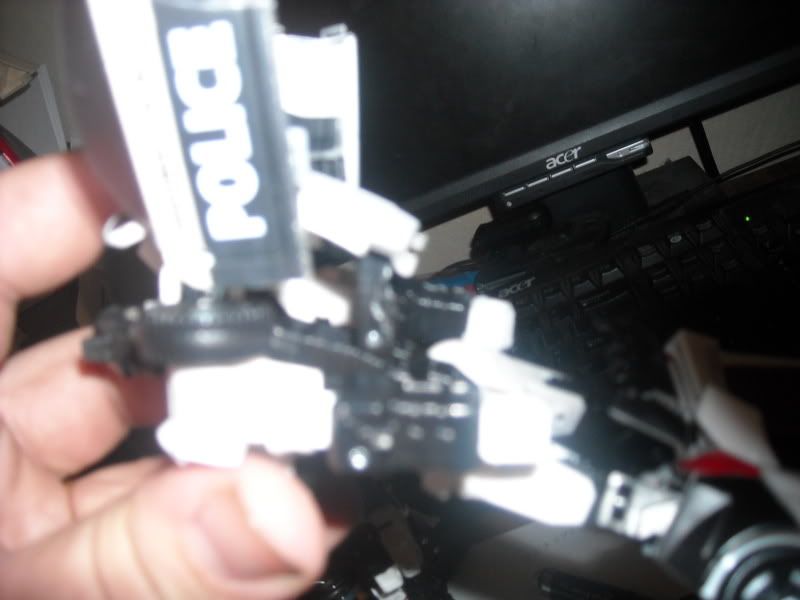
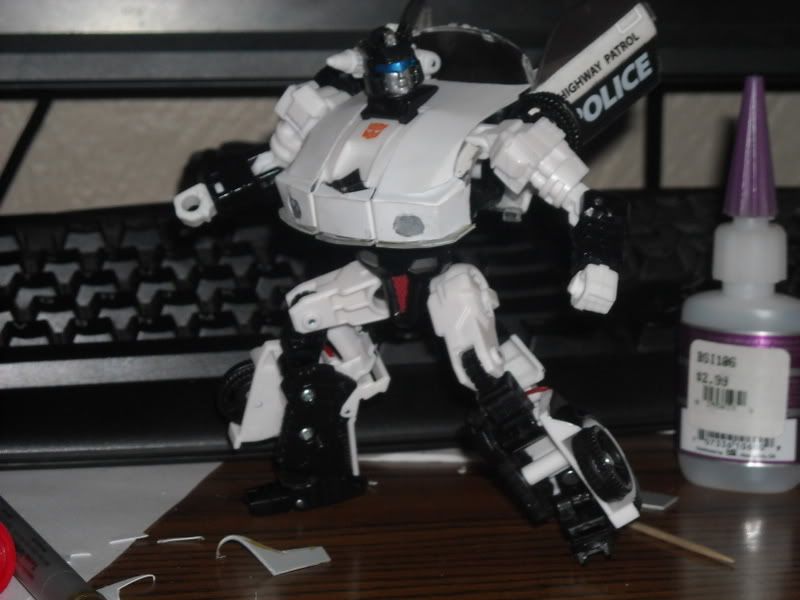
Now that the legs are more like G1 Jazz it's time to take the light bar off. Fold the top of his car mode down, and unscrew the light bar. Next using a razor knife cut the peg that goes from the light bar to the screw to hold the whole piece together. Now take a piece of paper thin styrene, and cut a piece the same dimensions as the sun roof to cover the hole left by removing the light bar, and using Plastic Weld glue the screw peg into the hole in the sun roof panel making sure the flat side of the peg is on the front side of the roof panel so it lines up with the hole properly. Now just screw the sun roof panel back into place, fold back into position.


here's a pic of the car mode showing he still transforms (IF YOU CUT THE SQUARE OUT OF THE KNEE)

Now to make the roof hinge assembly lay flat so that you don't warp the roof. All you have to do is dremel an angle out of the black bar.

Now to prepare the front end for it's transformation into a Porsche. Draw a line across the fender from the headlight to the side of the fender, and using your dremel cut the front of the fenders off, and glue them into position.

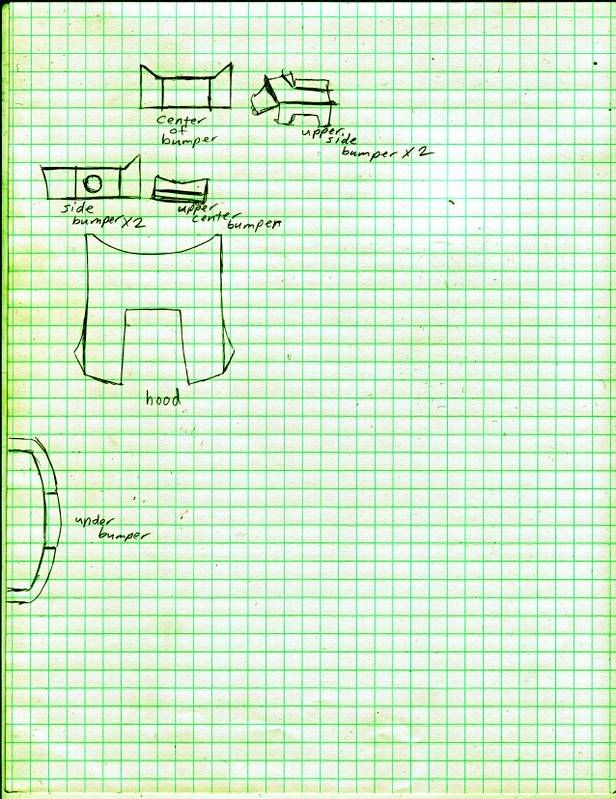
So pop the part that the head attaches to off, and put a cutting disc on your Dremel. Now grind the sides of that area down so when you add the plastic it will still be able to flip forward. I am drawing up the pieces on 1/4" blue line graph paper so you can all make exact duplicates for your own.

here are the blue prints for the parts.

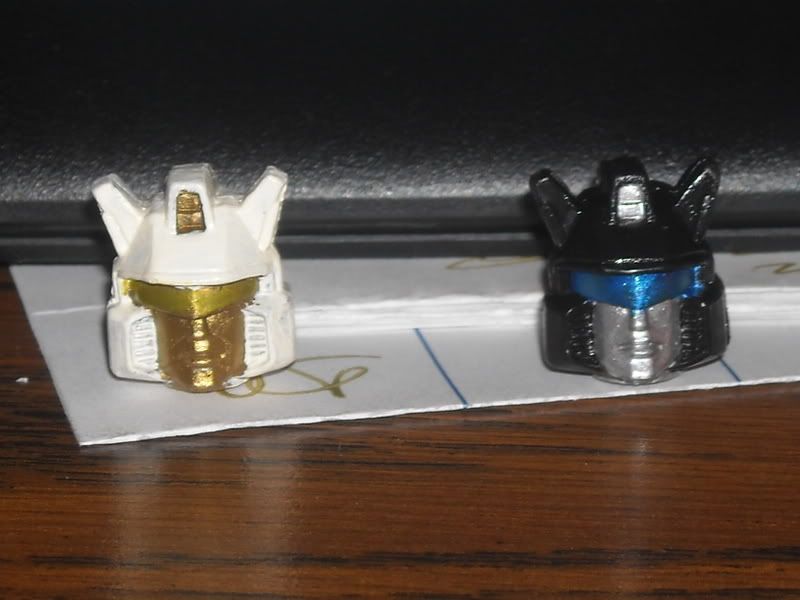
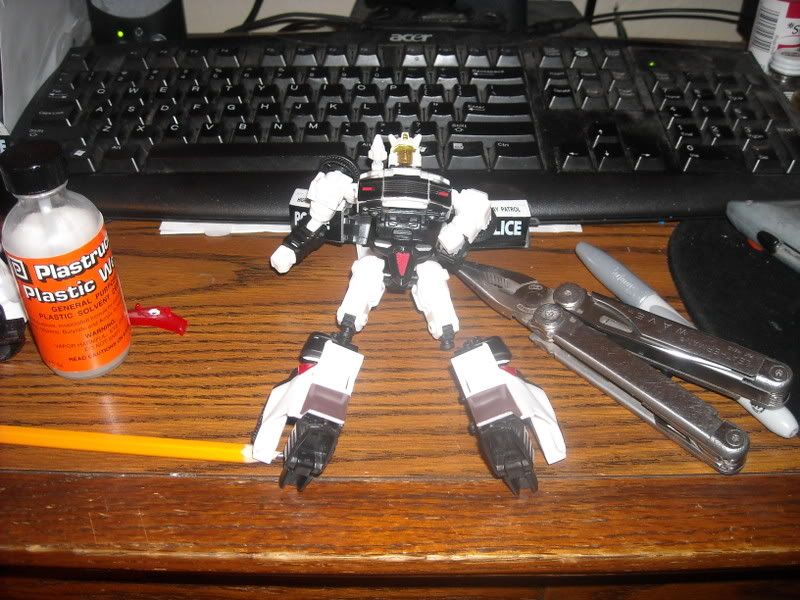
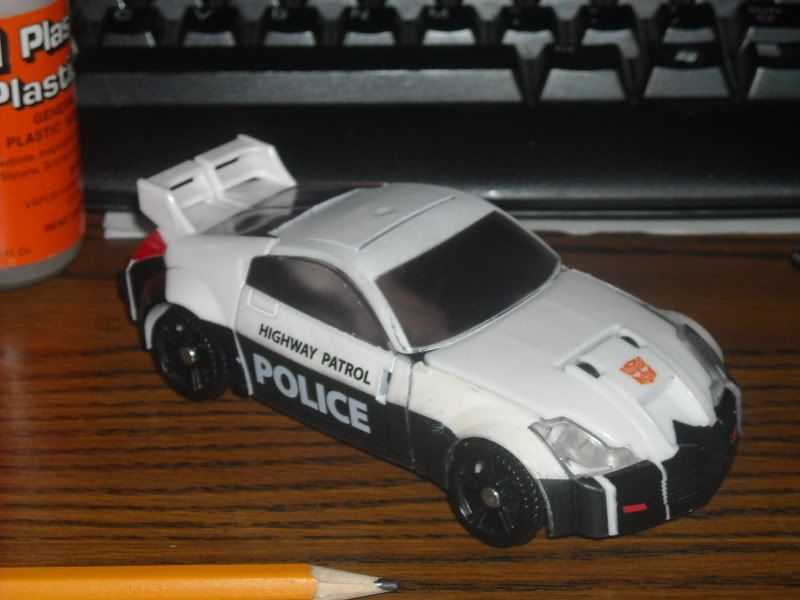
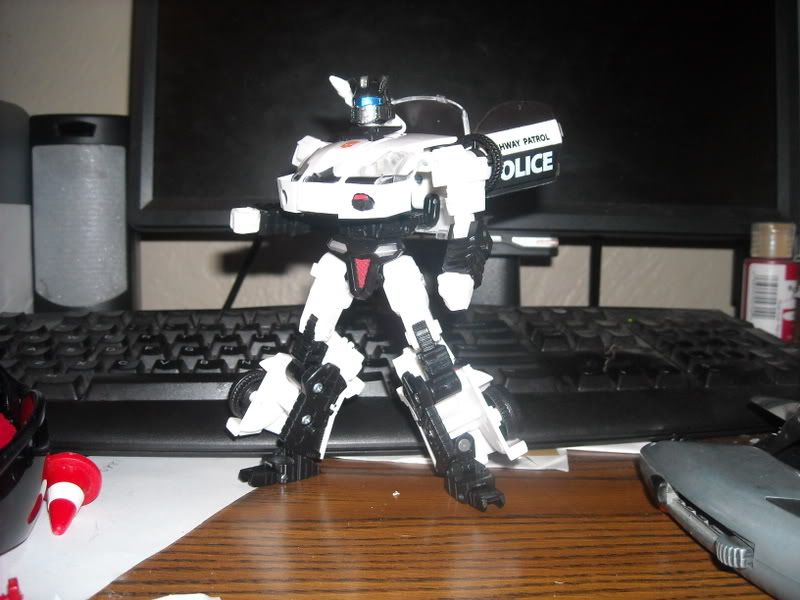
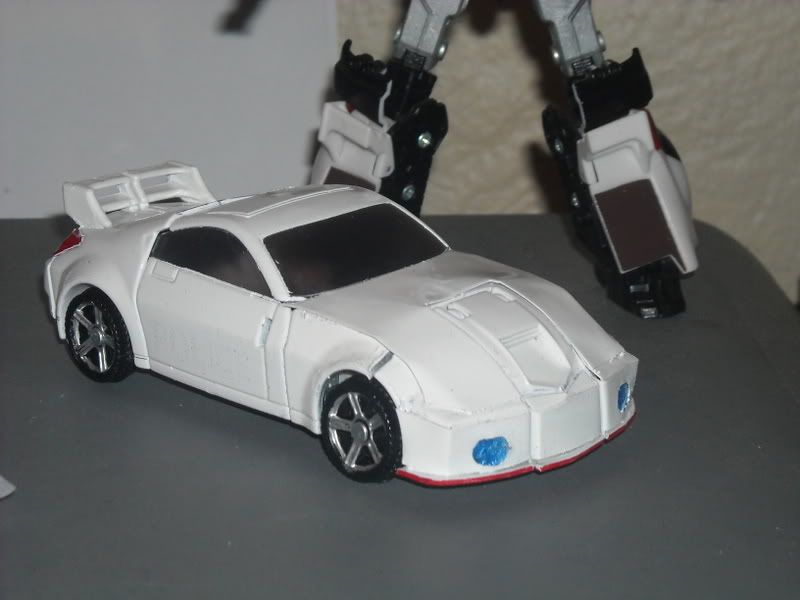
Here is Jazz just waiting for paint.

I've painted him white, and painted the head lights metallic blue, and painted the red edge on the front bumper. Now to wait for the reprolabels.
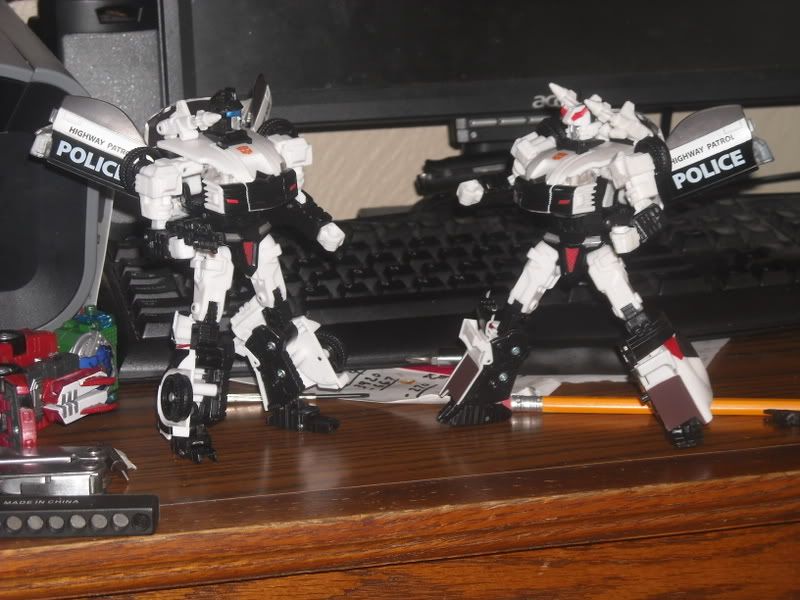
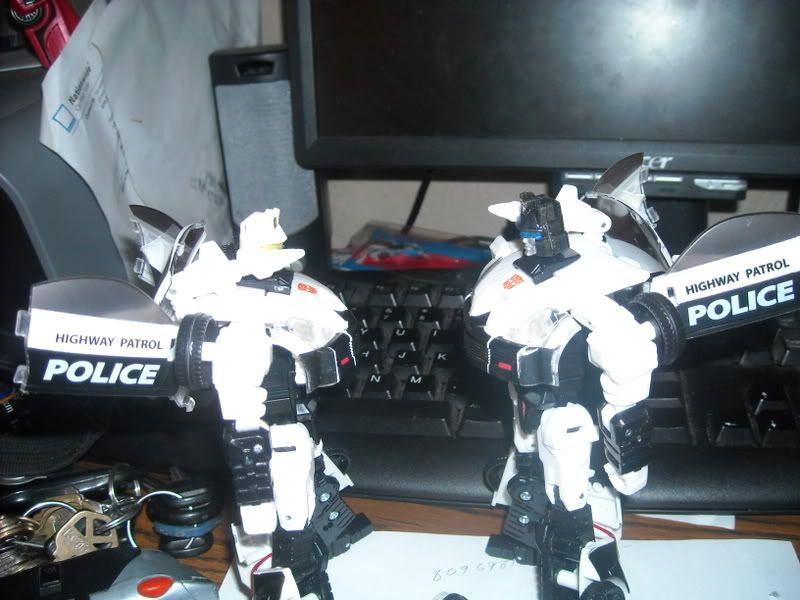
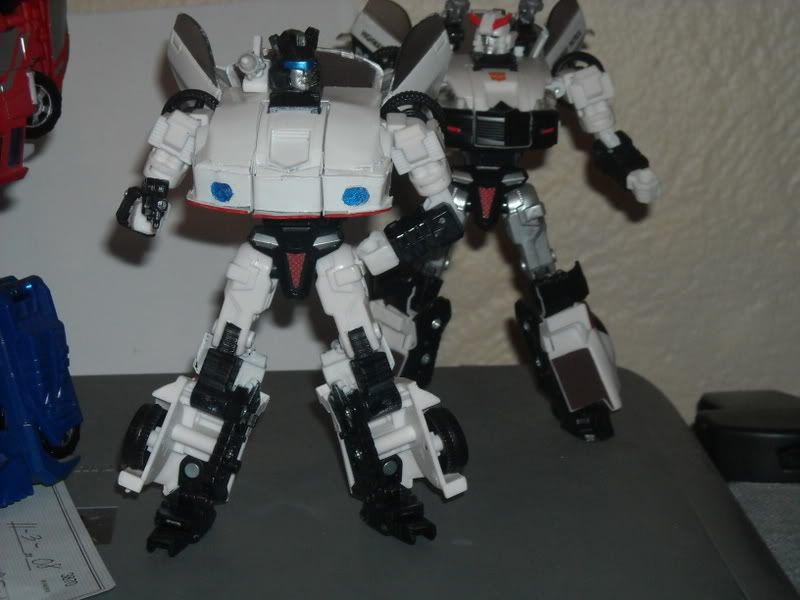
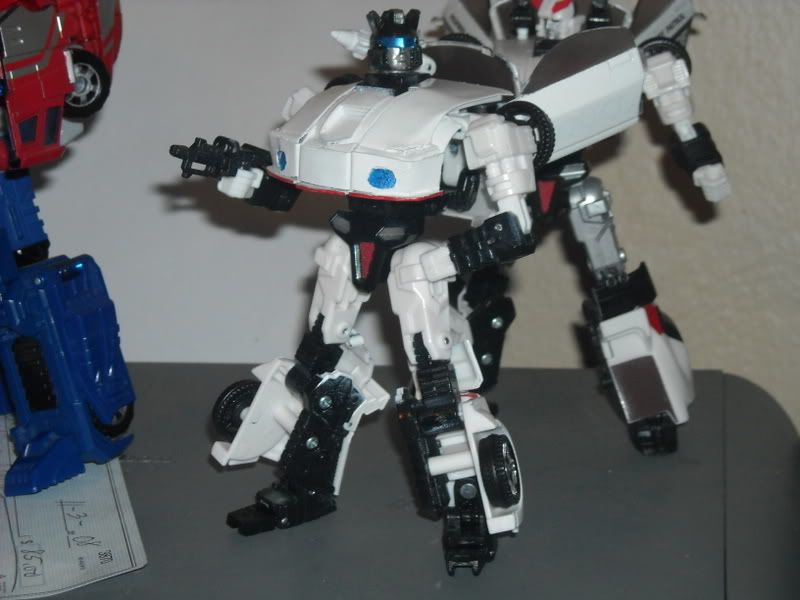
vehicle mode:

bot mode:


Once you get the reprolabels just put them on there and you're ready to re-enact you favorite G1 scenes.

 This is his classic 80s costume from when he took over as the leader of the X-Men, and from the Wolverine Origins comics. The reason for the red sword is that it is his Muramasa Sword which was forged for him by the legendary Japanese sword maker Muramasa himself. He made it with a piece of Wolverine's soul and told him that it was a weapon that could kill even Wolverine. Wolverine has used it to destroy a Shiva robot, and he even beheaded Sabretooth with it.
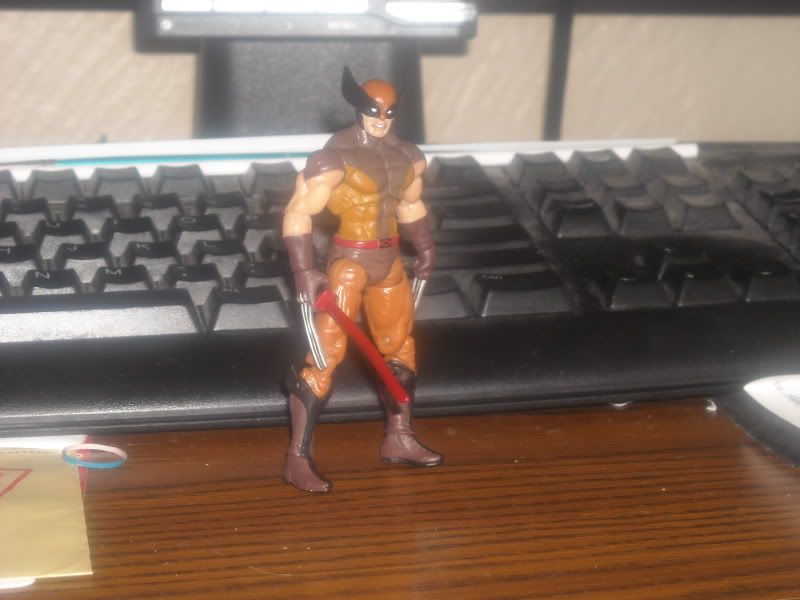
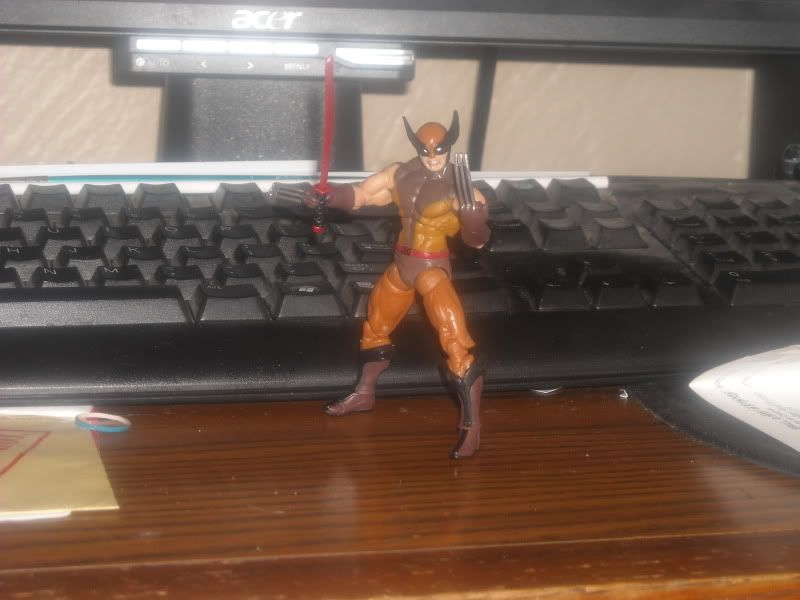
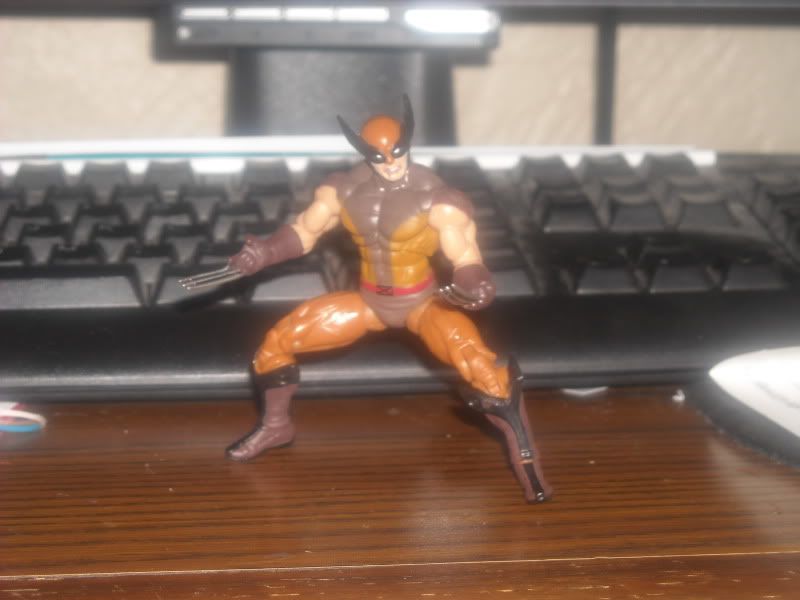
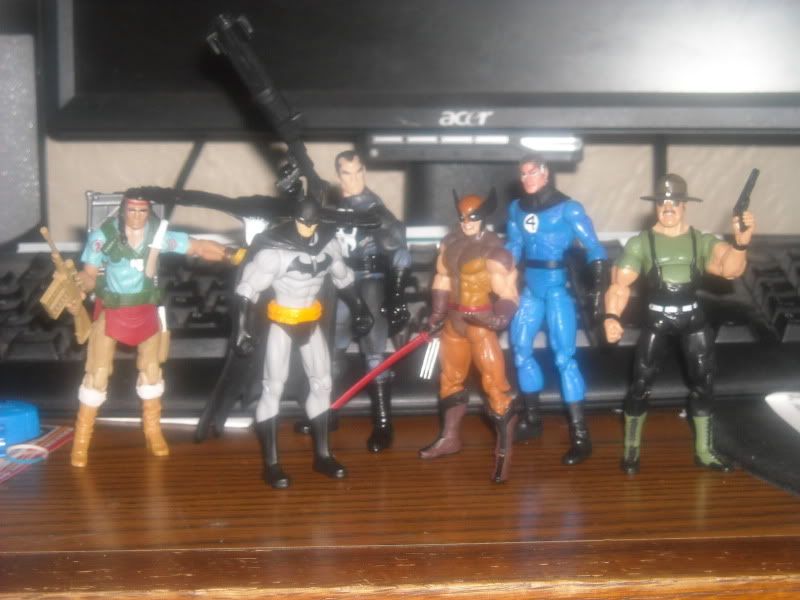
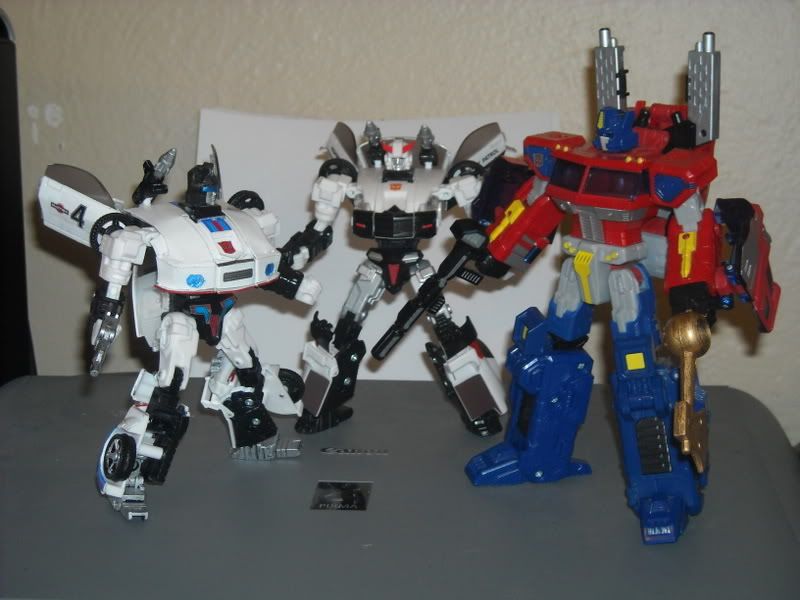
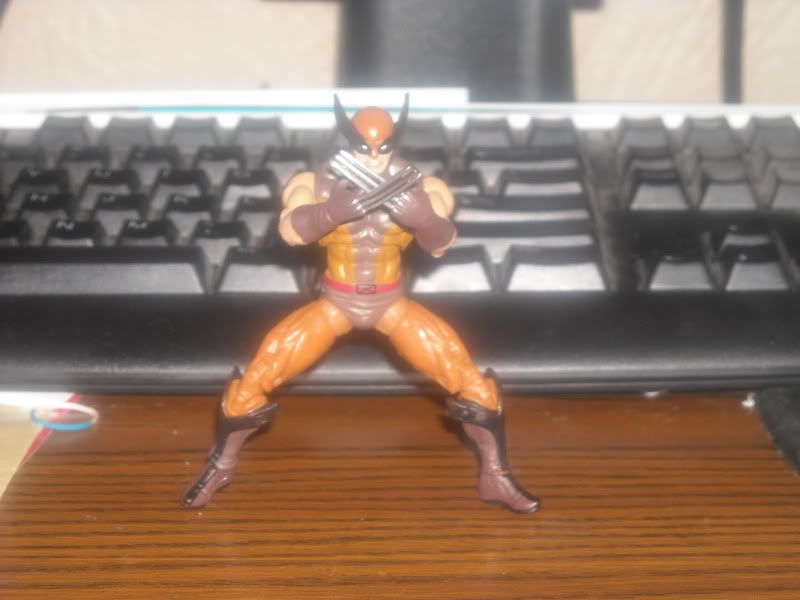 As you can see he is extremely poseable for a 3.75" or 1:18 scale action figure even able to pull off the signature crossed claws stance, and many other poses with out the use of any stabalzing devices such as stands. My only gripe is how the hips are articulated. You can get some very natural poses but you have to swivel the hip join into some very unnatural positions to get to the natural poses. So he can stand on his own 2 feet but how does he measure up scale wise to his fellow 3.75" & 1:18 scale figures?